Setting up a Subdomain with Amazon Route 53 DNS without changing the parent domain with 2 easy steps
Introduction:
The post is a part of Mastering AWS Route 53 series
If you possess a root or top-level domain registered with services such as GoDaddy, Gandi, Namecheap ..., and wish to integrate AWS Route 53 into your setup without transitioning your root domain to AWS Route 53, then this post is tailored to your needs.
Use cases:
- If you're interested in experimenting with AWS Route 53 (we offer numerous helpful AWS Route 53 tutorials at Devops.ci) while ensuring that your existing domain continues to serve other APIs and services without disruption, this post is a valuable resource for you.
Two Easy Steps:
Step 1: AWS Side
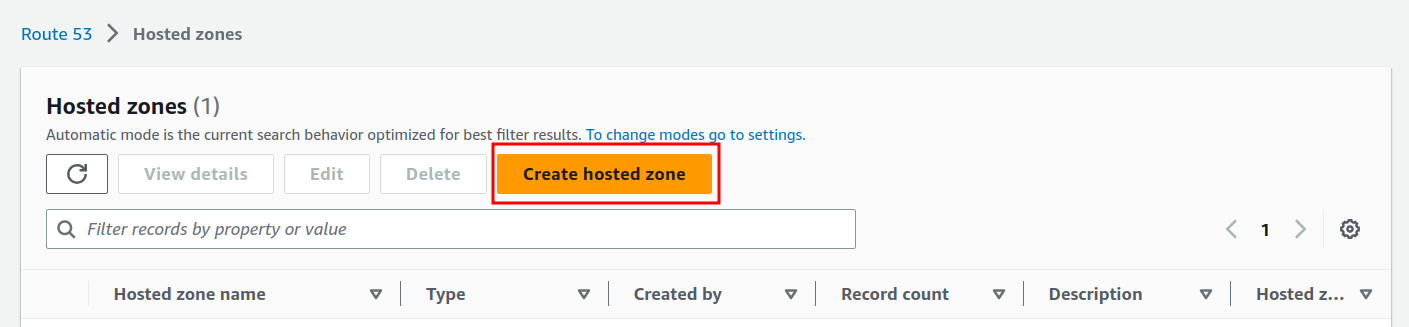
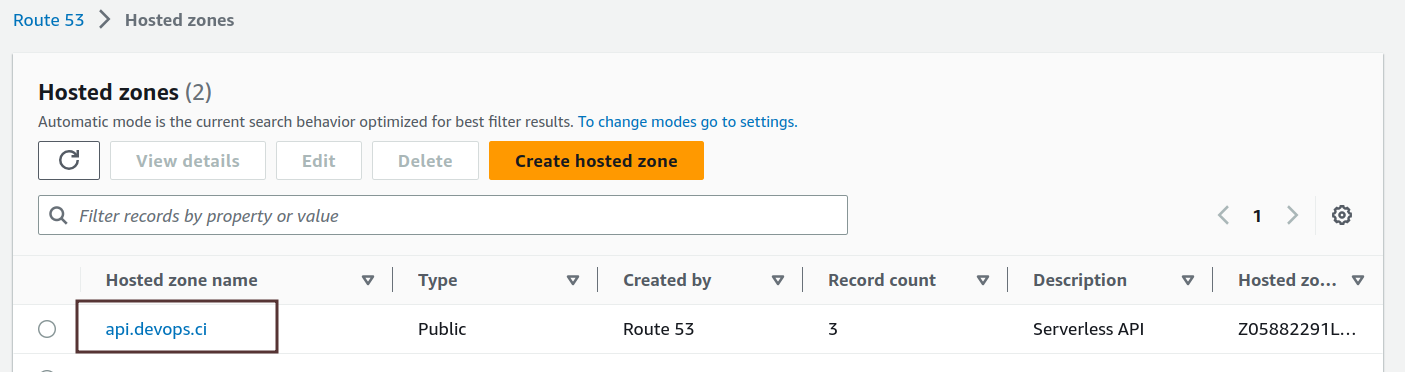
Go to the AWS Route 53 Hosted Zones and then click on Create hosted zone
Enter your desired custom domain, for example for me it is: api.devops.ci
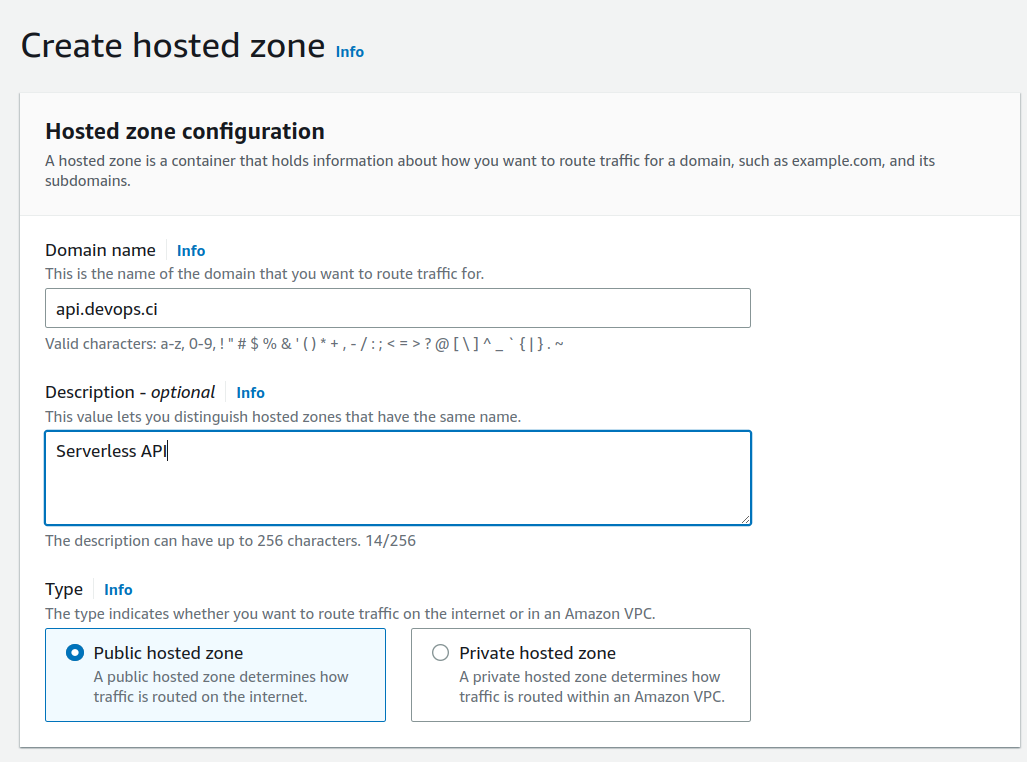
And click on Create hosted zone
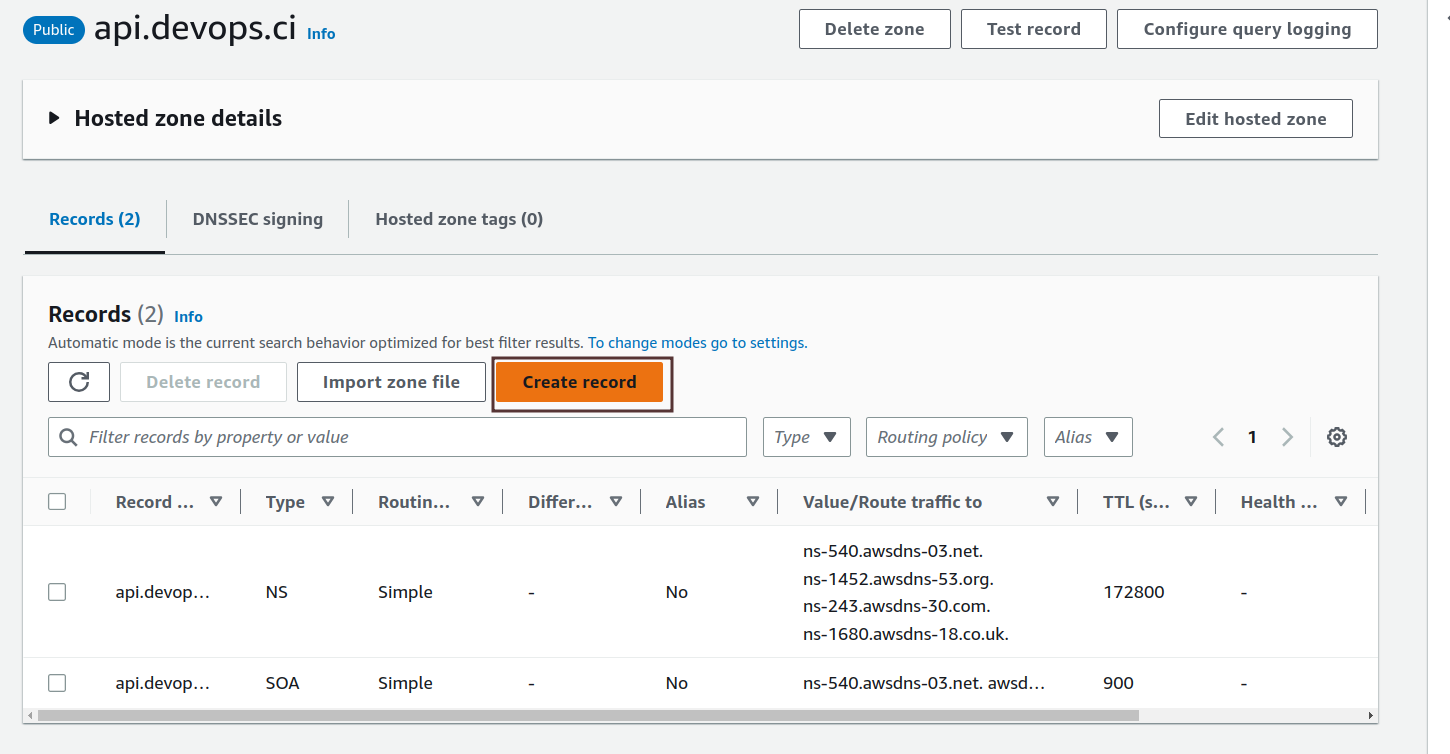
It should be successful and the next screen will be something like this:

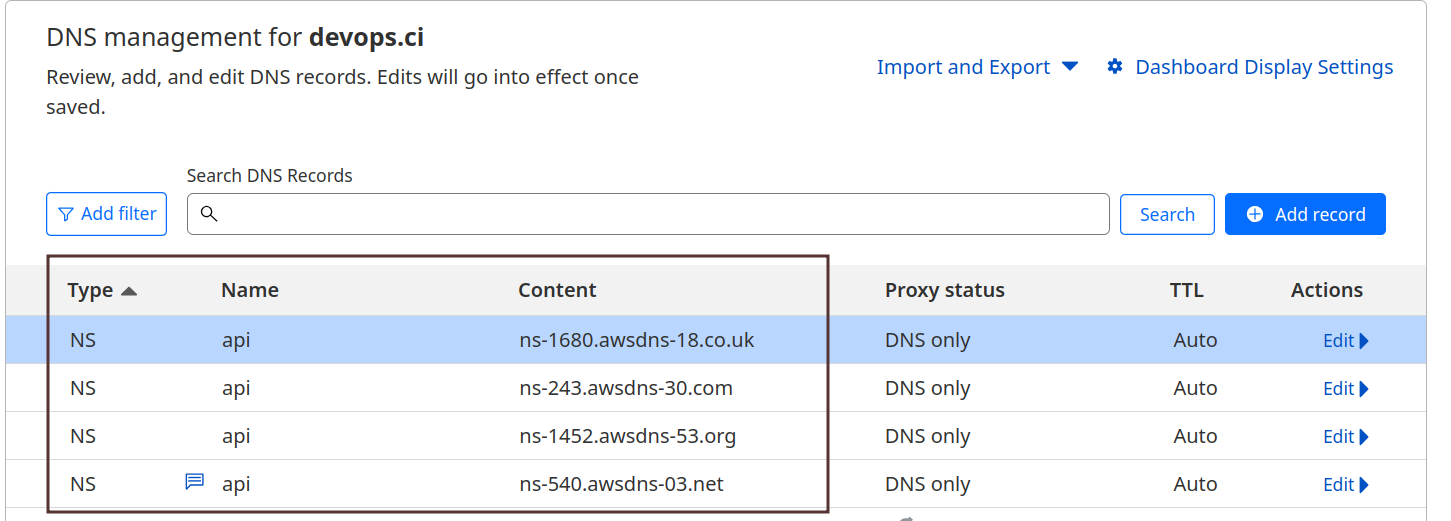
Note the NS (Name server) records (in the red rectangle). They will be used in the next step. In this example, we have 4 NS records:
ns-540.awsdns-03.net.
ns-1452.awsdns-53.org.
ns-243.awsdns-30.com.
ns-1680.awsdns-18.co.uk.
Step 2: Your Registrar Side
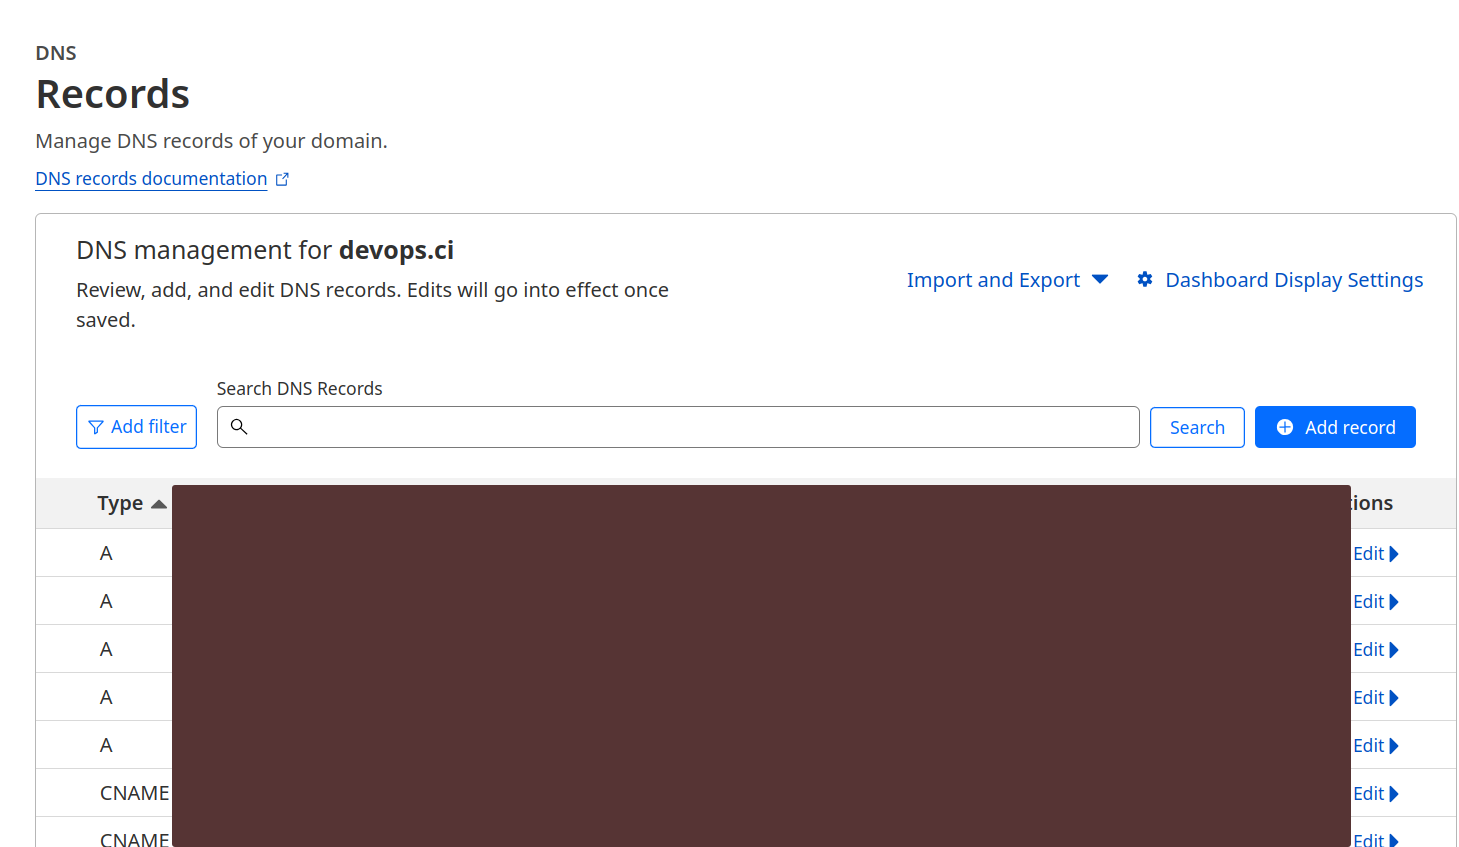
1. Login to your domain name registrar dashboard and find your DNS management page. For me, at that time posting, I am using Cloudflare and the page look like this:
2. Now you need to add the NS records from the Step 1:
Typically, for each record you will need to specify
- Type: it should be NS (Name Server)
- Name: your desired custom sub domain, for me it is: api.devops.ci, it is the same as your hosted zone on AWS Route 53.
- Value: it should be the NS record that you got from the step 1. For example, in my case it is:
ns-540.awsdns-03.net.
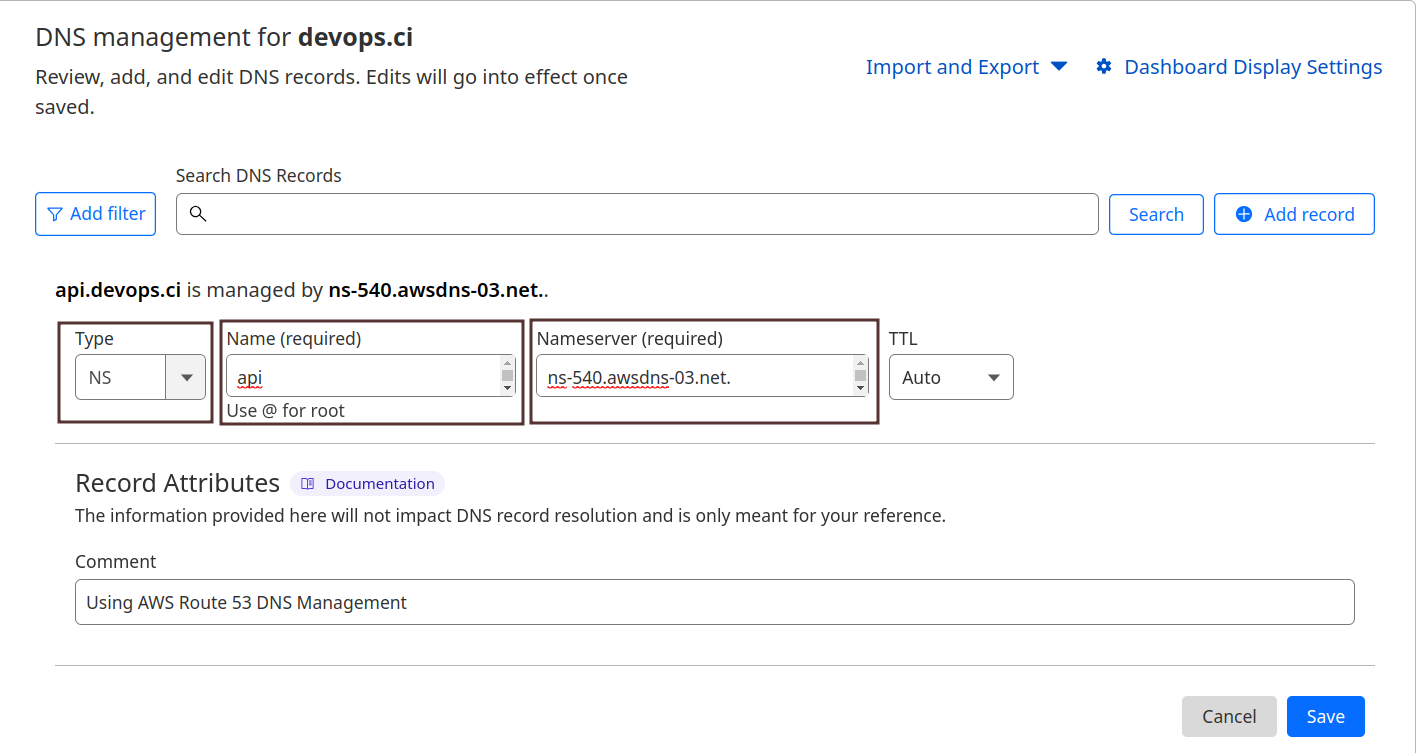
Click save to save the record.
3. Now do the same for rest NS records.
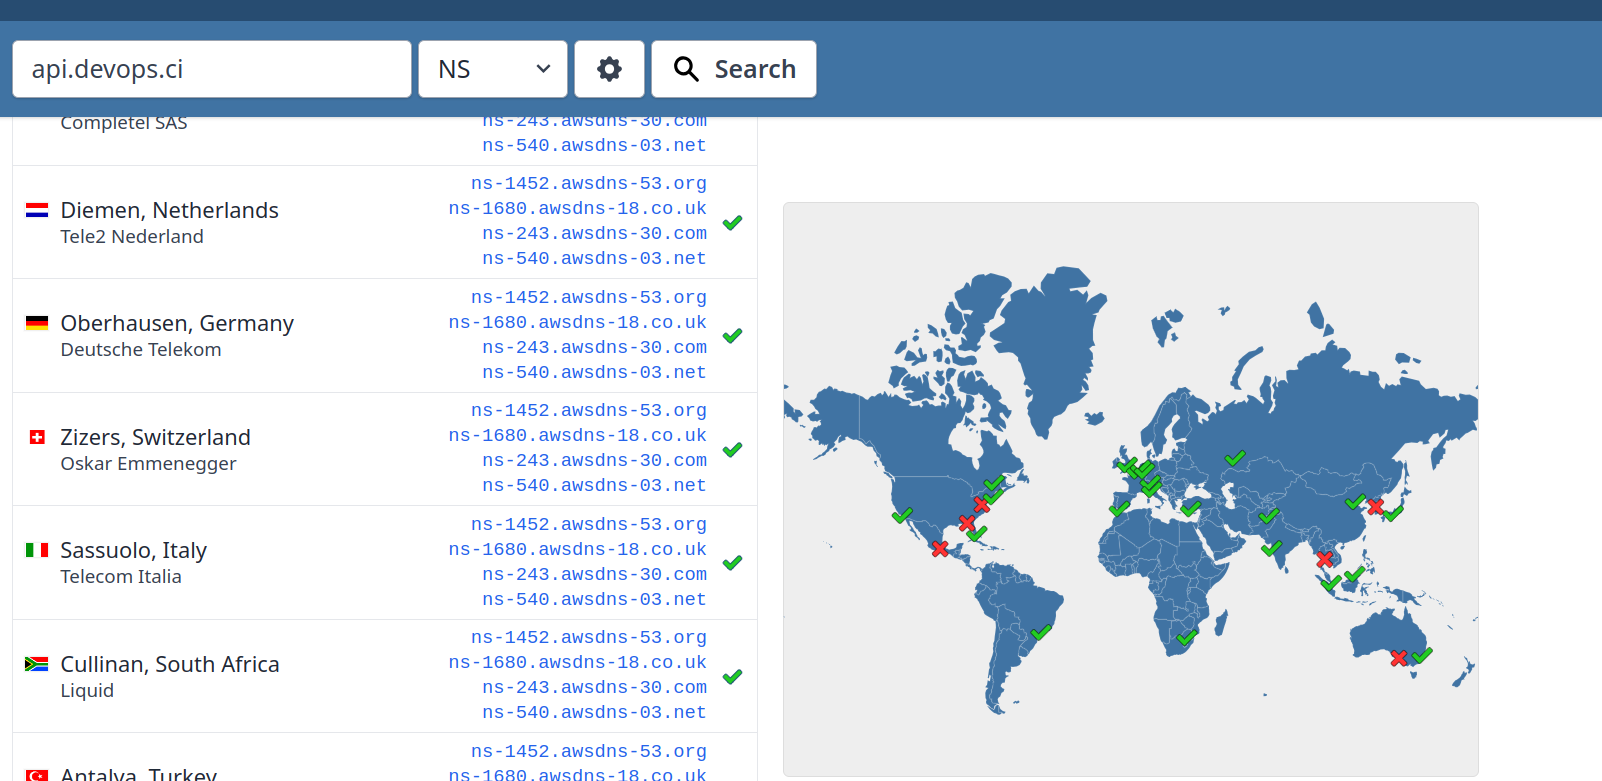
4. Finally, you need to wait for DNS propagation
It can takes up to 24-48 hours, in the mean time you can use websites like WhatmyDNS or DNSChecker, they are global DNS checking tool. If your NS records are correct about 80% all locations then it should be okay.
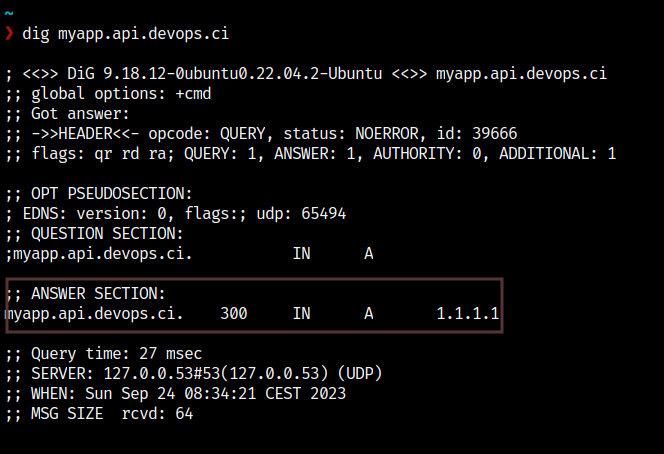
You can also use dig command to test your DNS records, for instance:
dig +noall +answer +multiline your_sub_domain any
In my case, the output look like this:
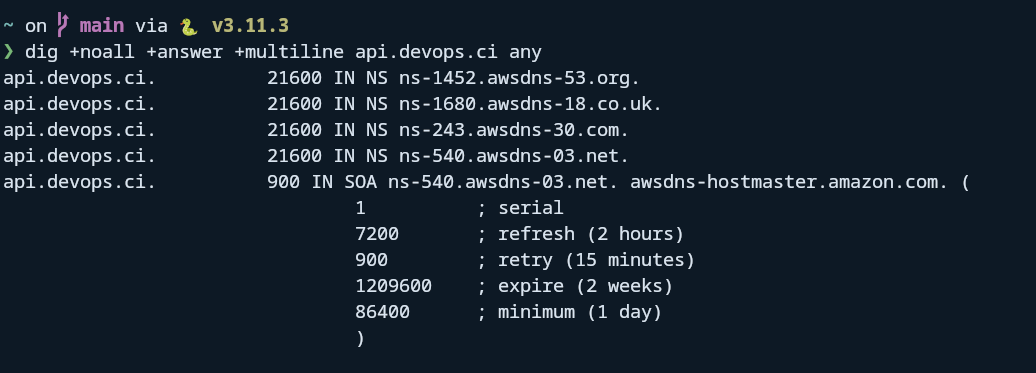
But please remmember if you use dig, it is not accurate because it is belong to your location only.
5. Testing your AWS Route 53 hosted zone
After DNS propagation is done. It is the time to test AWS Route 53 to see if it works or not.
- Go to AWS Route 53 hosted zones page and click on your subdomain:
- In the next screen, click on Create record
- Add a simple A record:
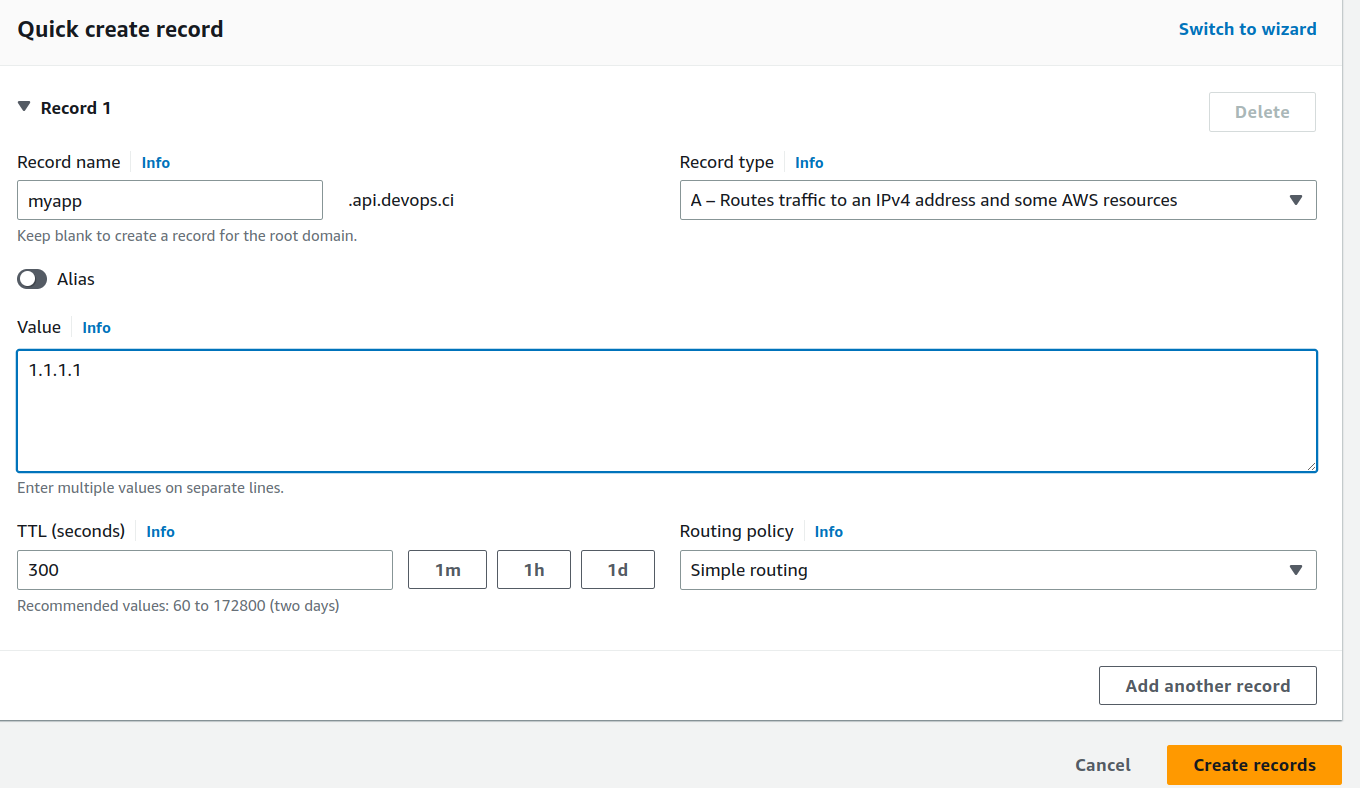
For the Record name field, it can be anything that you want.
For Value field, it can be your IP of your server or can be any IP like 1.1.1.1.
Click on Create records to save it!
- Wait for some minutes then you can use
digor any online DNS checker tools likeWhatmyDNSto test your sub-subdomain:
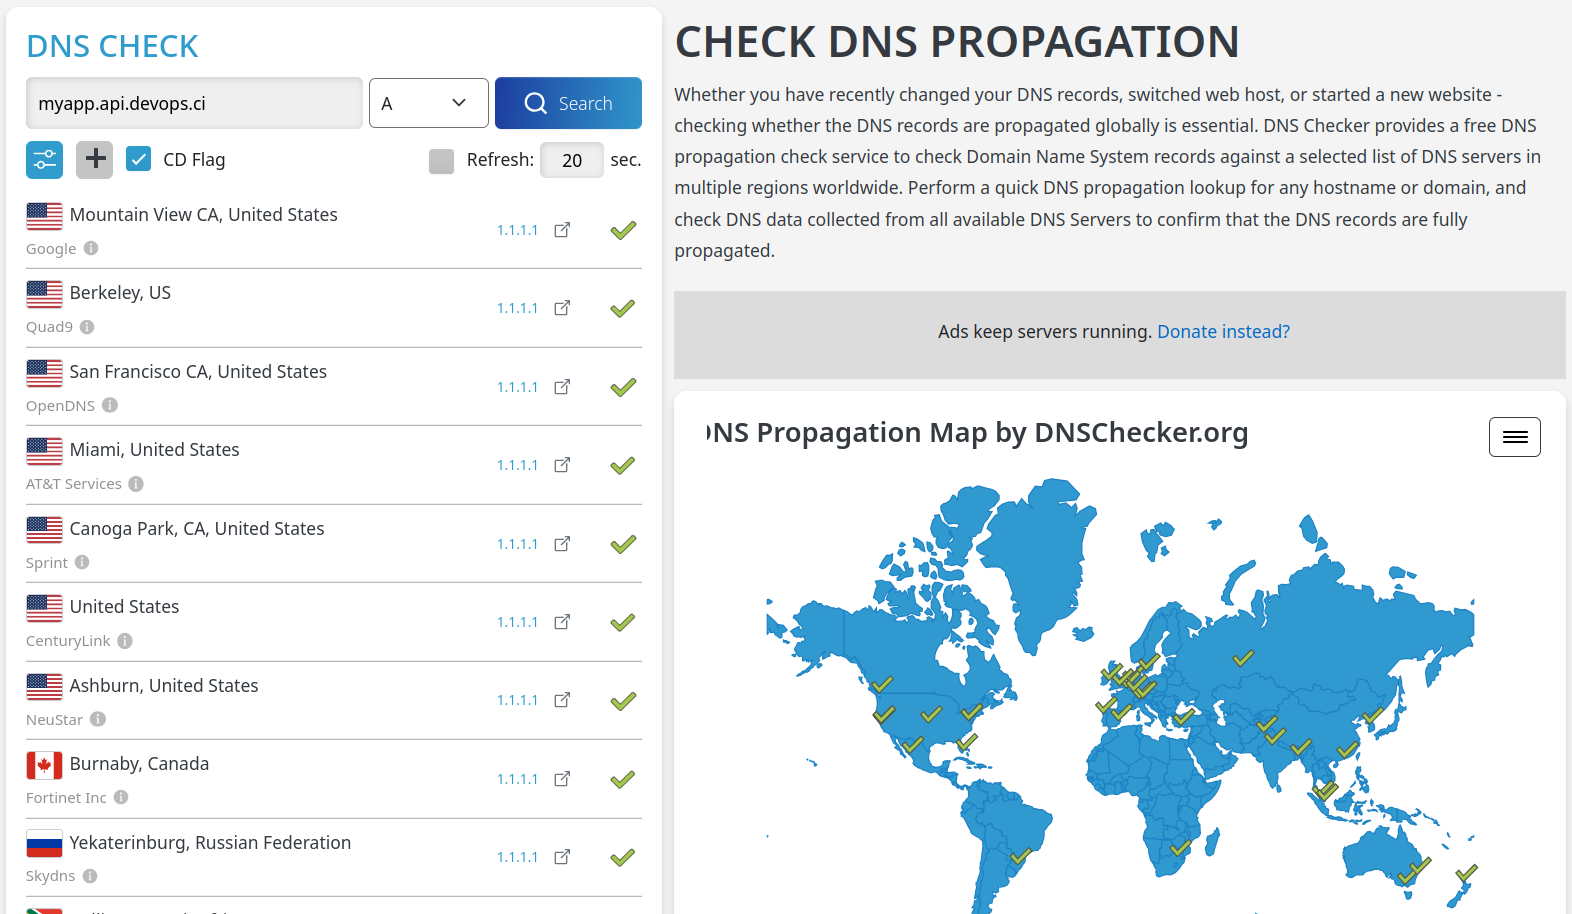
If your A record is correct then it should be okay!
Conclusion:
We hope you can learn something by reading the post. If you find the post beneficial, I'd appreciate your assistance in sharing it.
Member discussion